Installing and Replacing Drawers (Upgrade Drawer Kit)
Tools required
Qty. | p/n | Description | |
|---|---|---|---|
1 | 
|
| Screwdriver |
Parts required
Qty. | p/n | Description | |
|---|---|---|---|
1 | | G7167-60020 | Drawer 2H |
1 | | G7167-60021 | Drawer 1H |
1 | | G7167-60022 | Drawer 3H |
NOTE
Before you start the new drawer installation you have to remove the lower drawer (2H drawer = default configuration) from the Sample Hotel.
NOTE
For best cooling performance the 2H drawer must be installed in the lowest position.
NOTE
More detailed video information is available on the Agilent Information Center.
-
Open the drawer.
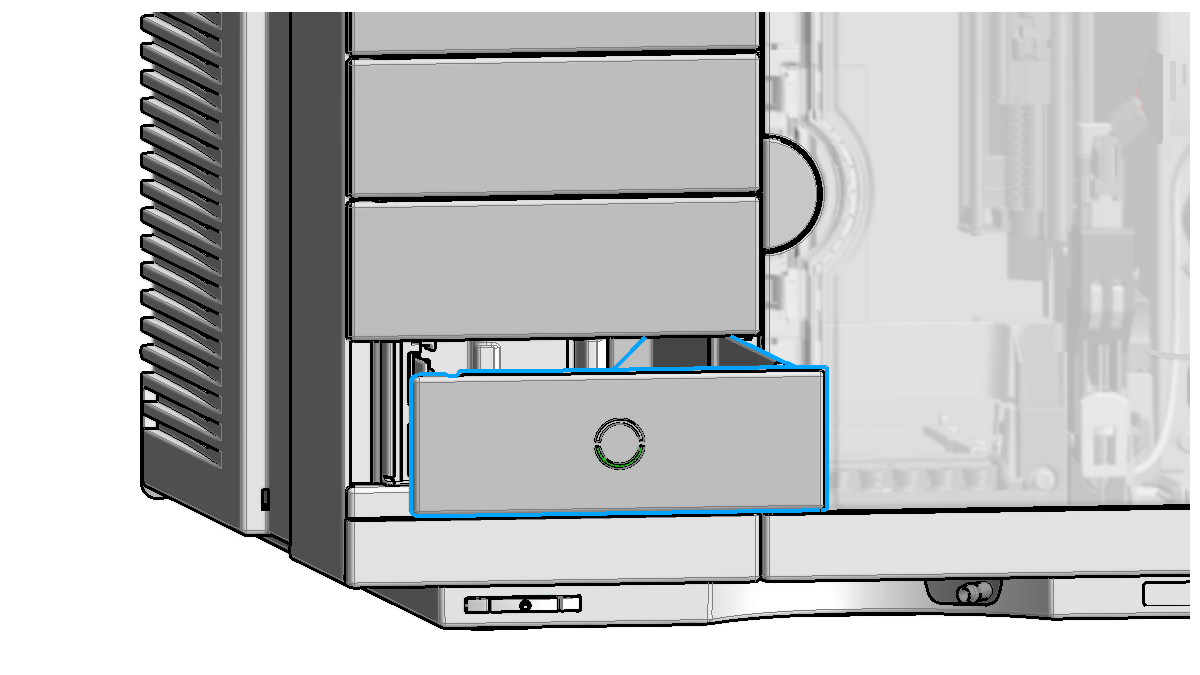
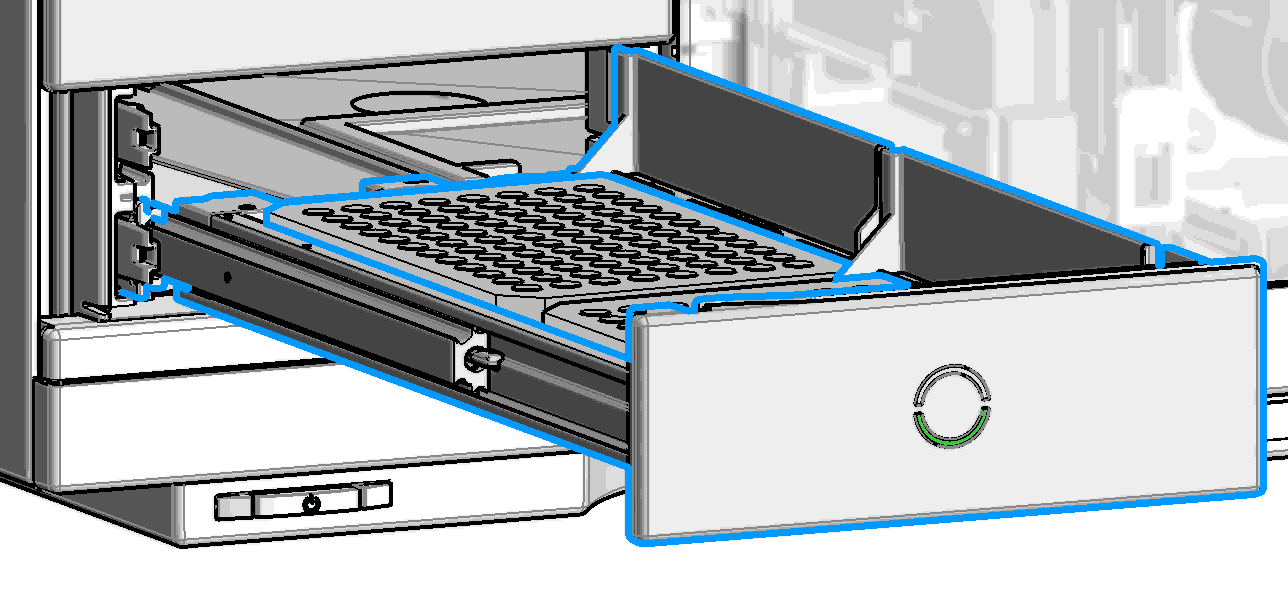
Pull the drawer completely out.
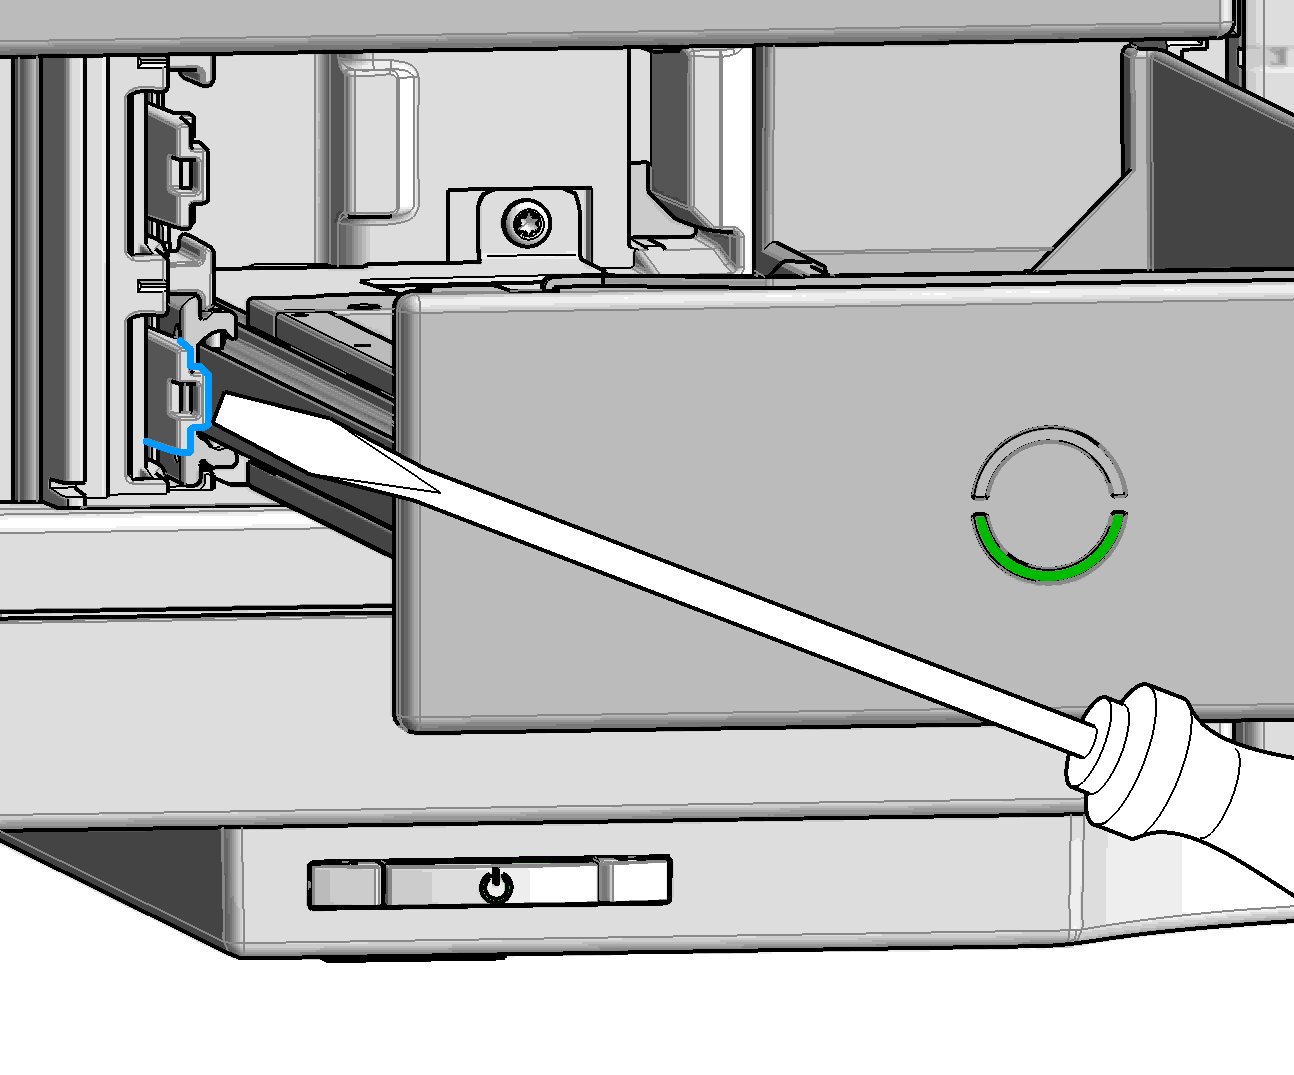
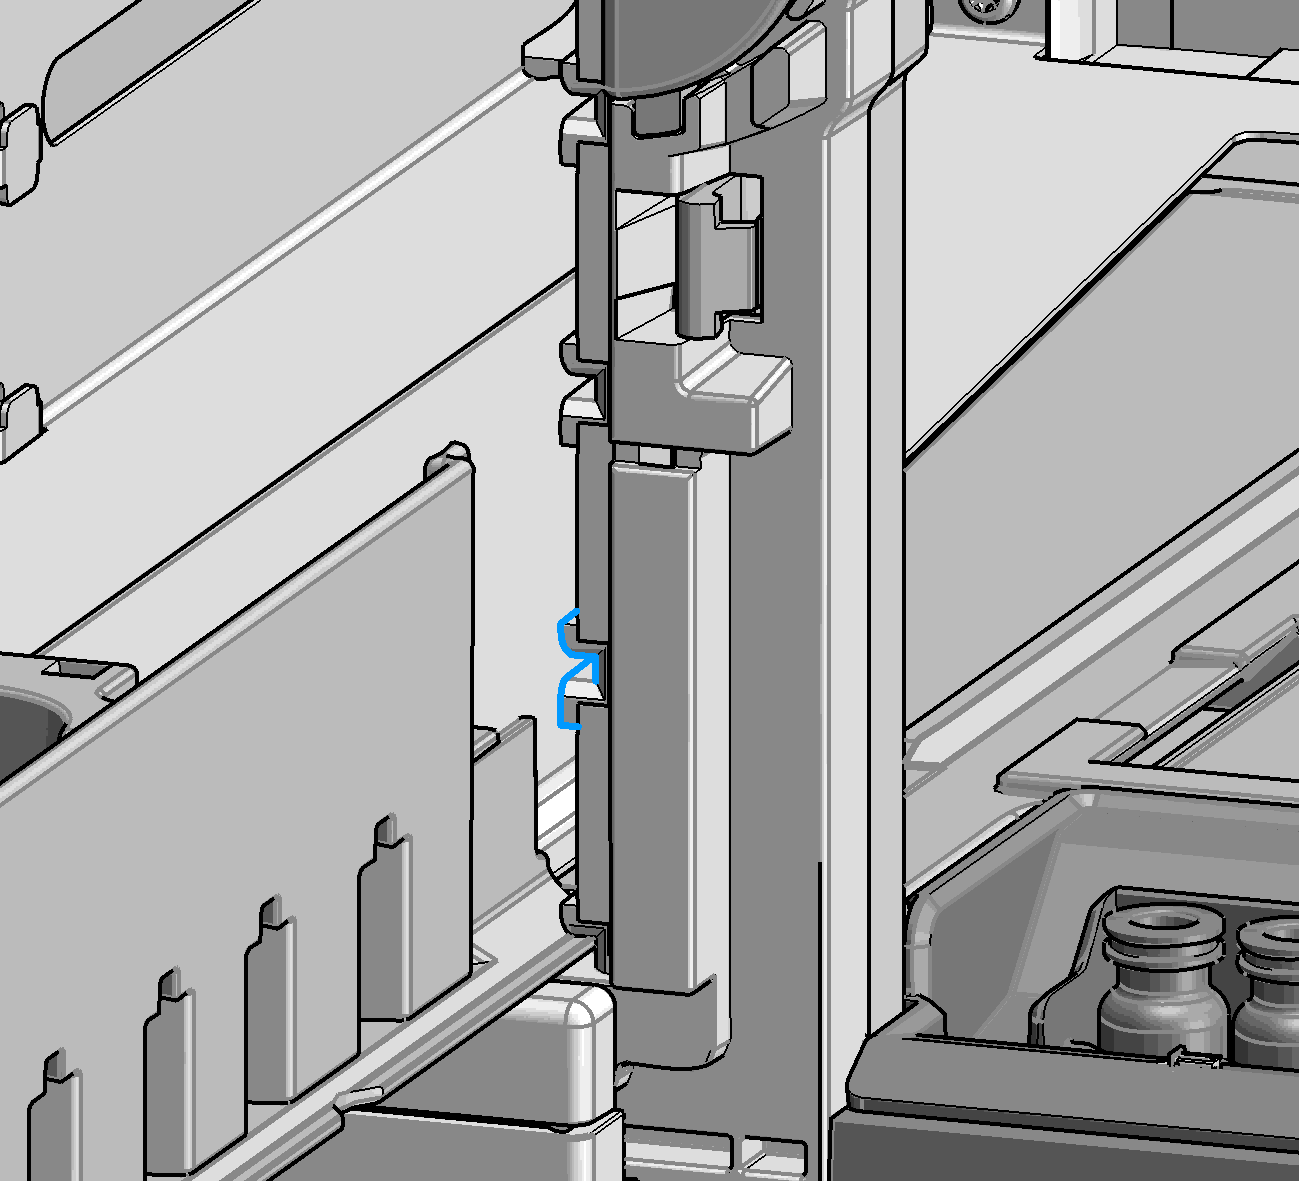
Unlatch the drawer: Use a screwdriver to press the clamping lever lightly to the left.
Remove the drawer from the rail guide.
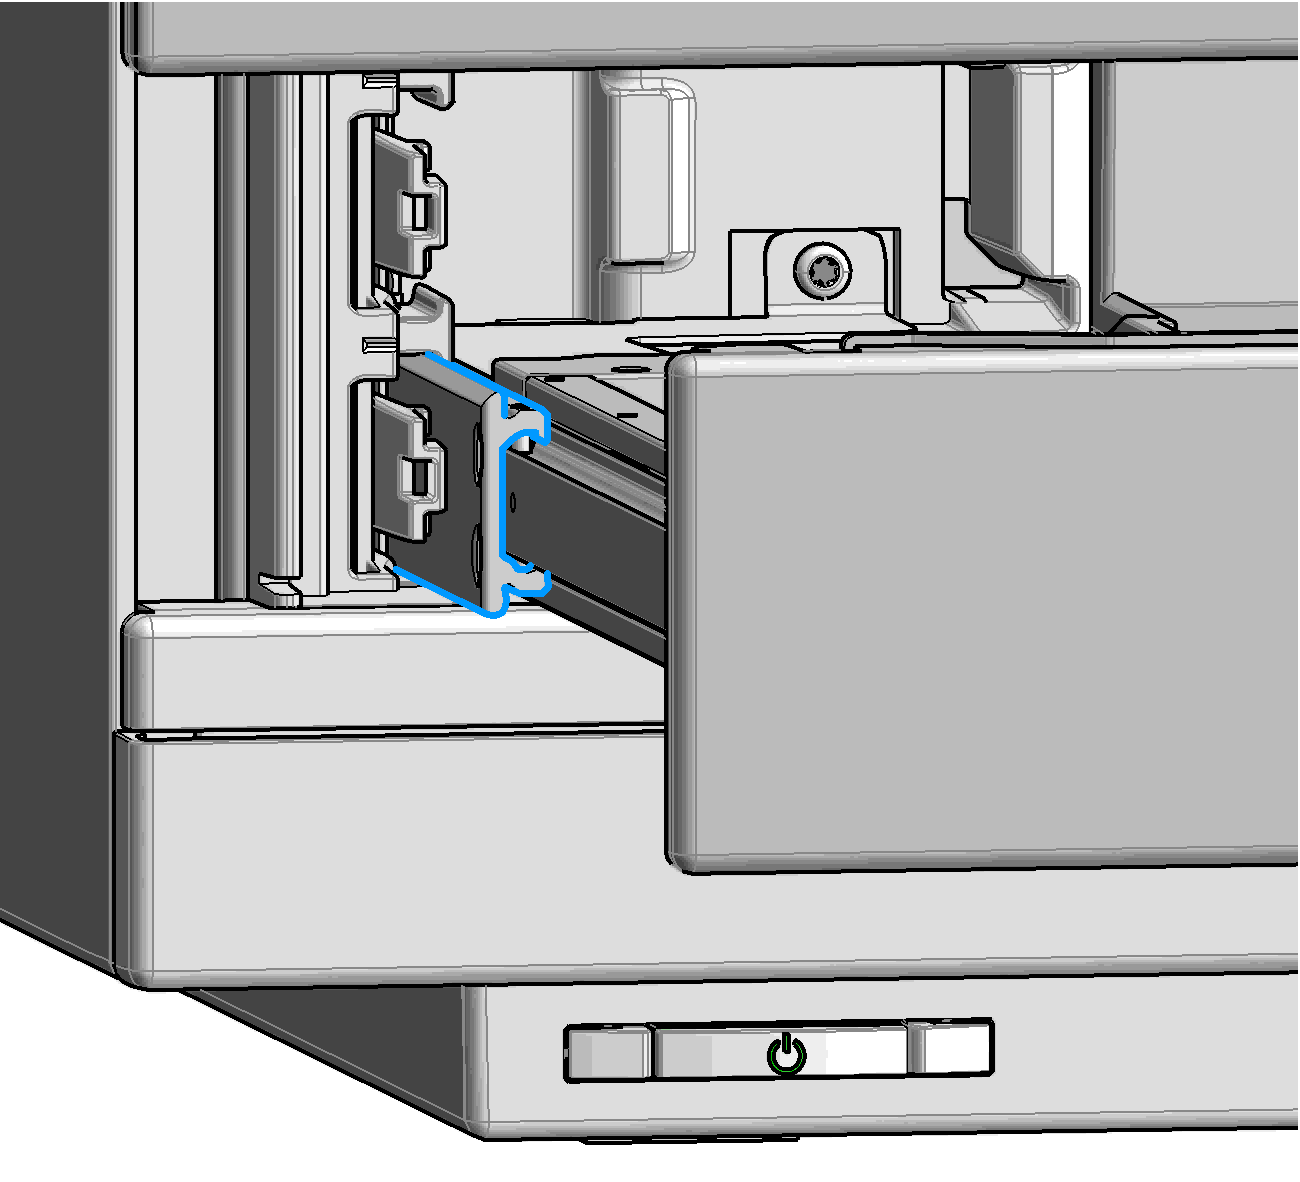
The drawer is now out of the hotel.
-
Grab in the recession below the dummy drawer front panel (1.) and lift the left side (2.).
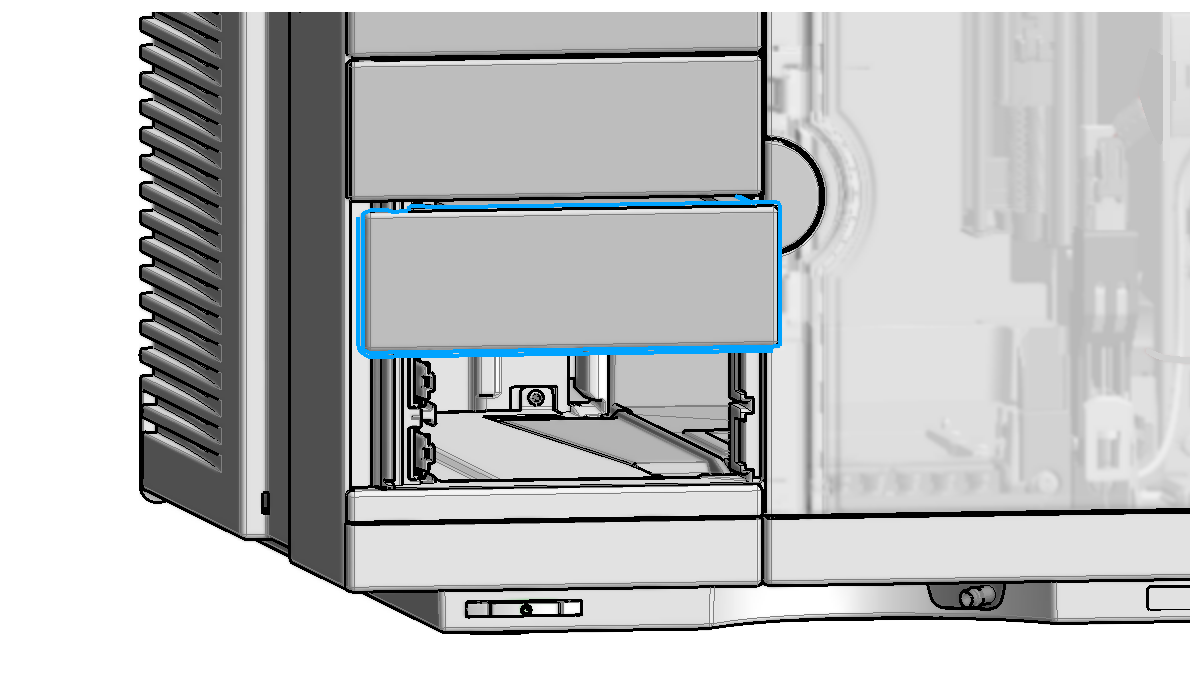
-
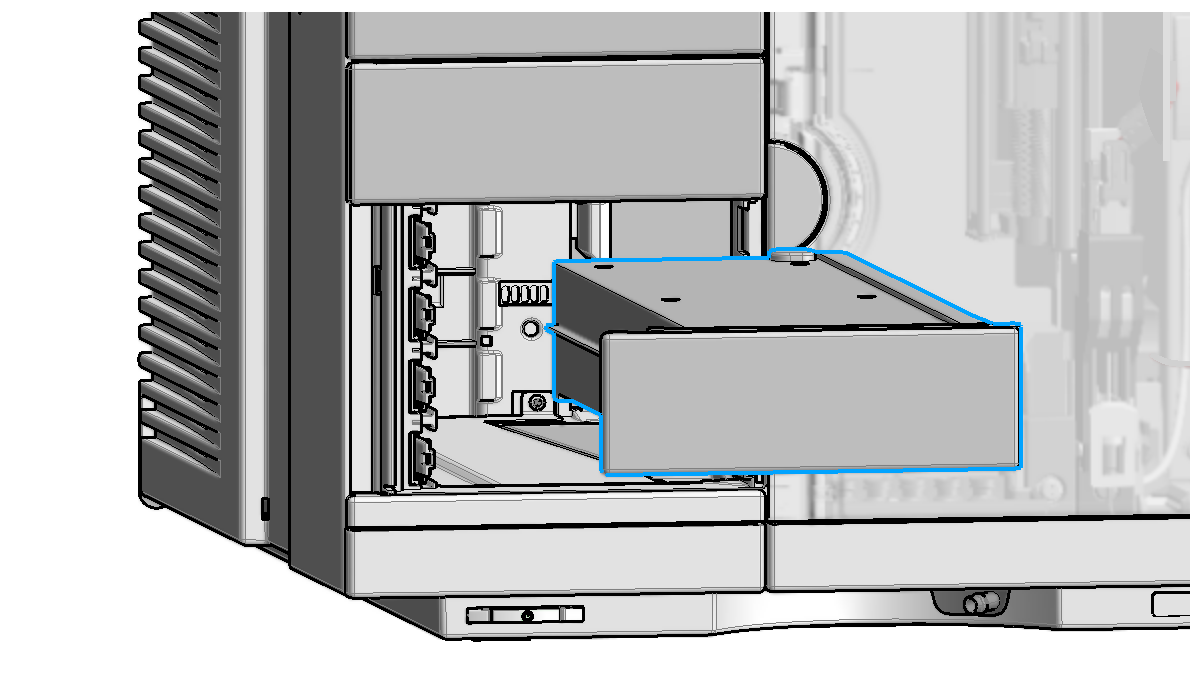
Remove the dummy drawer.
NOTE
At this stage, remove all other dummies that will be replaced by hotel drawers.
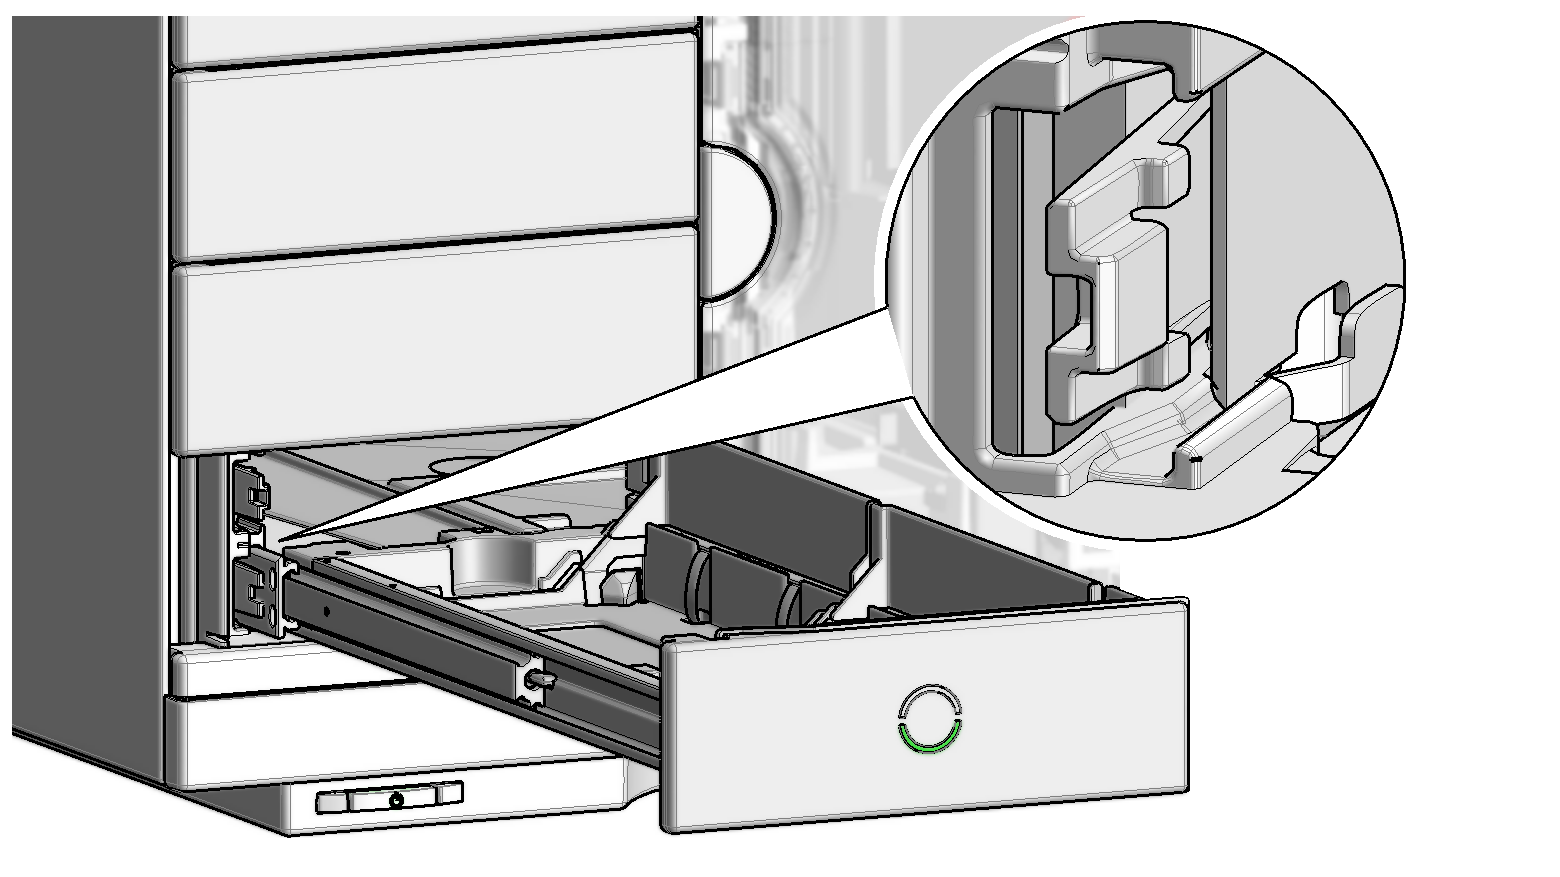
Place the new drawer horizontally into the sample hotel. Check that the drawer matches the middle bracket of the sample hotel.
-
Push until the complete drawer locks in place.
NOTE
Take care that the clamping lever locks.
NOTE
Always fill sample hotel completely (no empty drawer slots). Otherwise the drawers can’t be configured in the software.
-
Configure the hotel drawers in the controller software (see the Online Help of the software for details).
base-id: 6301356427
id: 9007205556097419-2