Installing the Detector
Parts required
Qty. | p/n | Description | |
|---|---|---|---|
1 |  | G7123-60500 | Flow Cell 2 µL |
1 | | G7123-60300 | Flow Cell 13 µL |
1 | | G7123-42009 | Foam Protection FLD |
1 | | 1401-0641 | Cap-round W/FLG 60.33mm-ID Vinyl Black |
1 | | 0100-1259 | Plug-Screw 1032- Fitting |
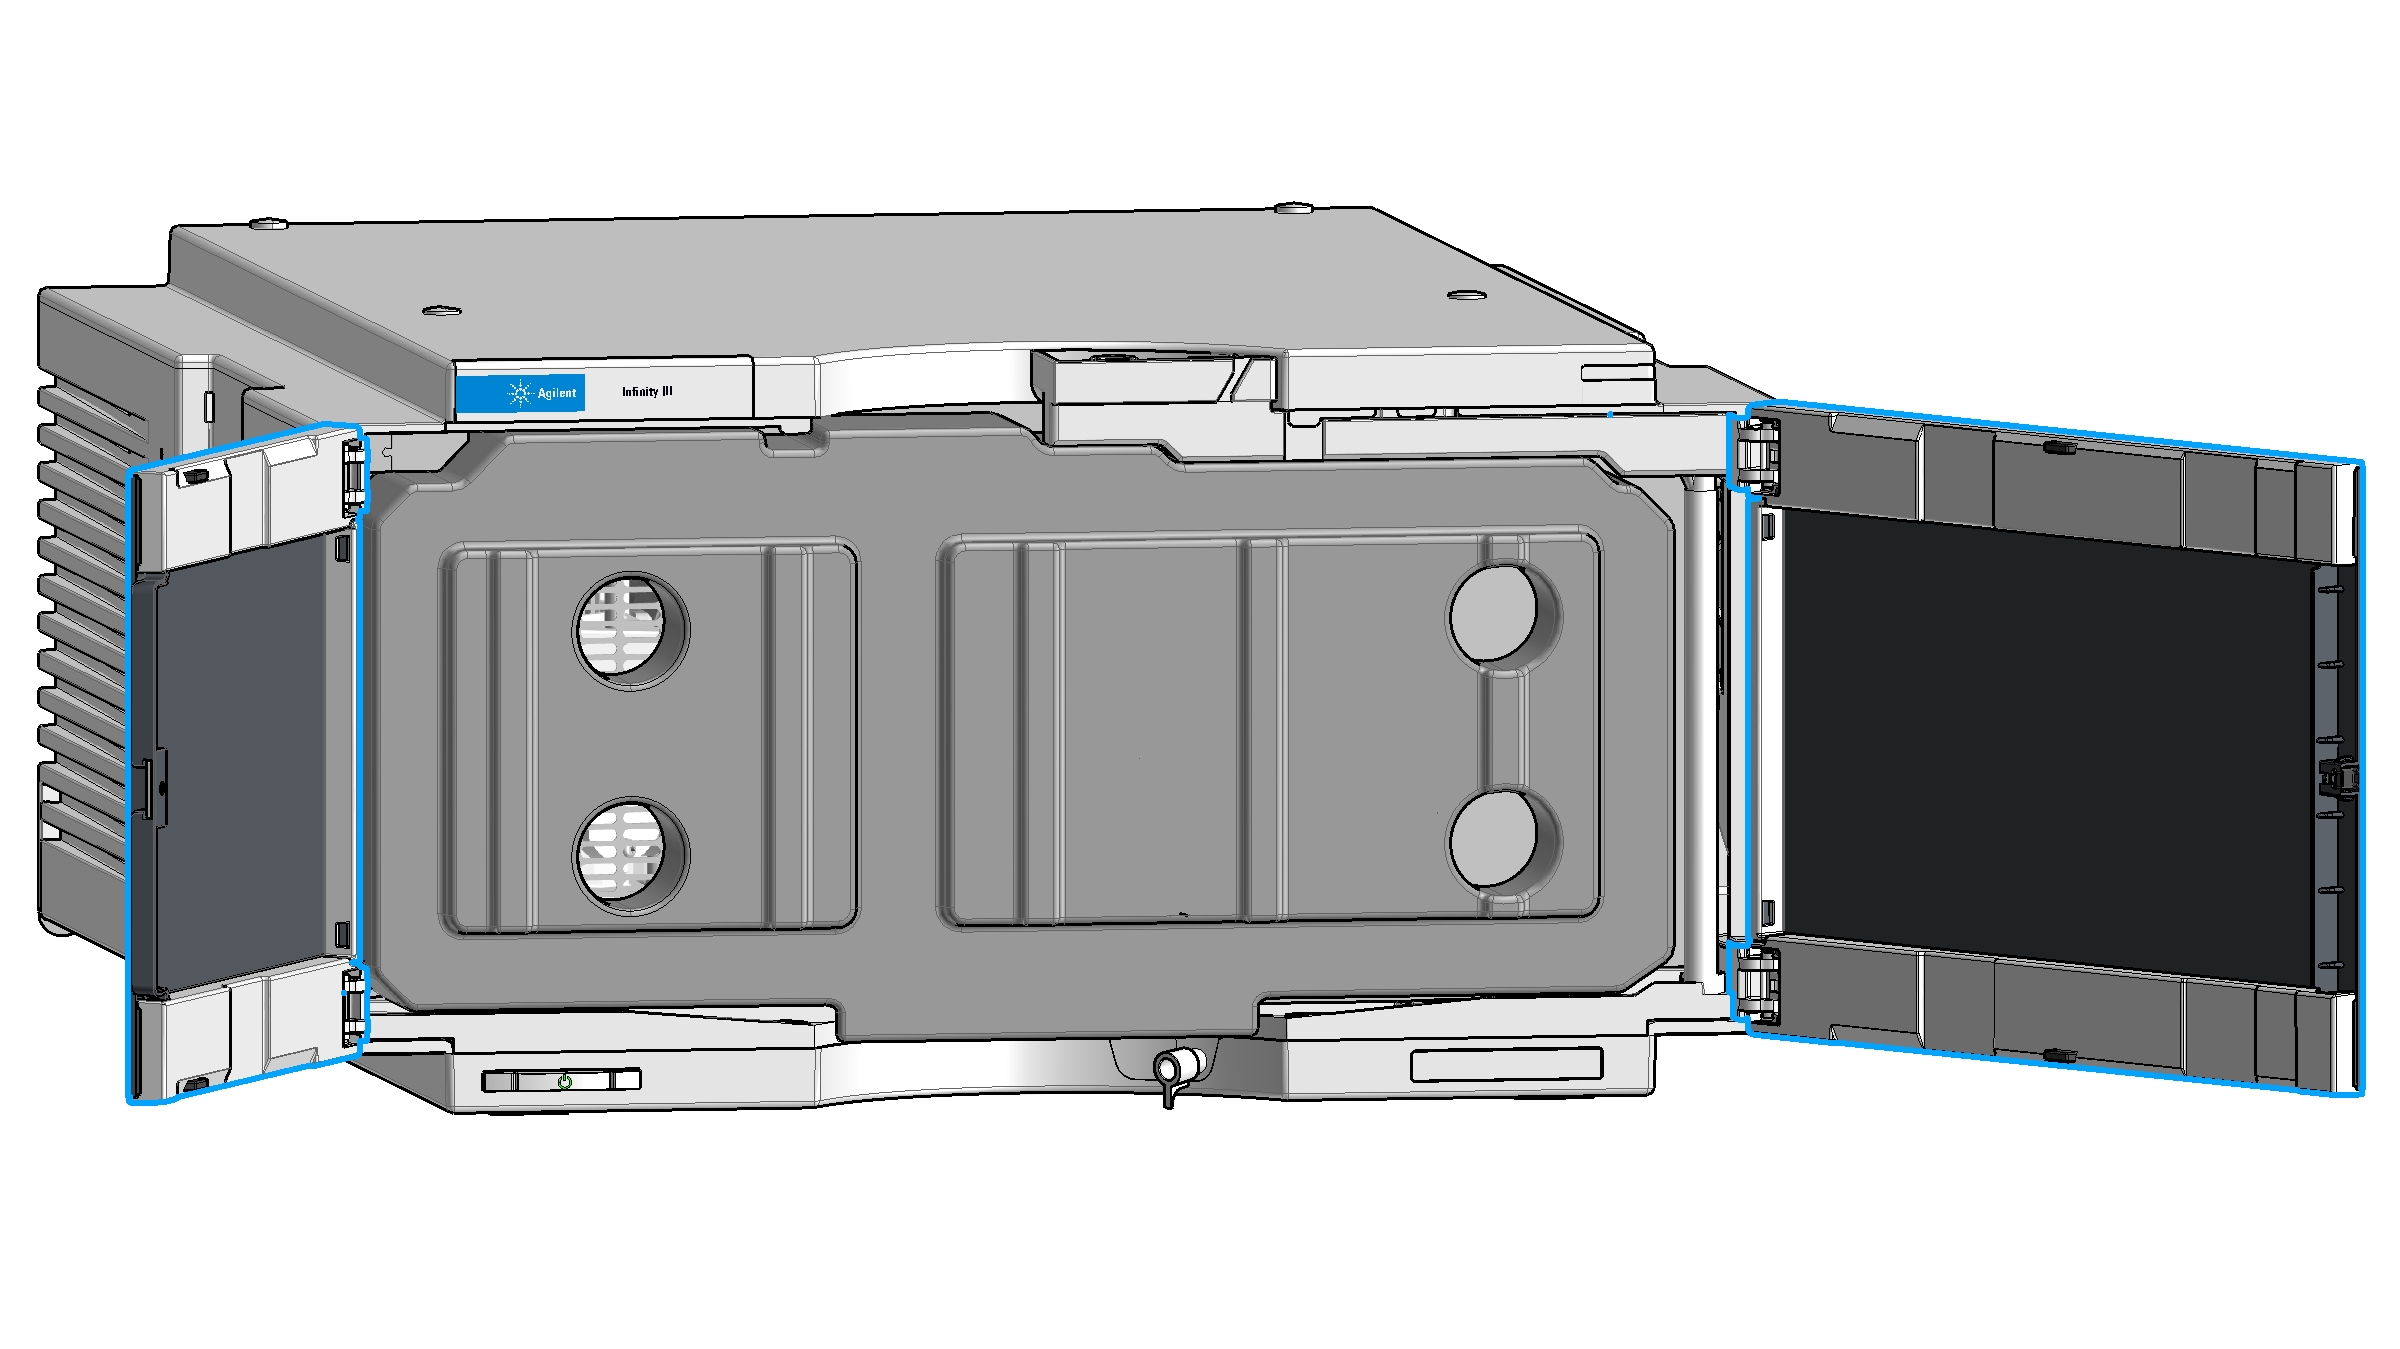
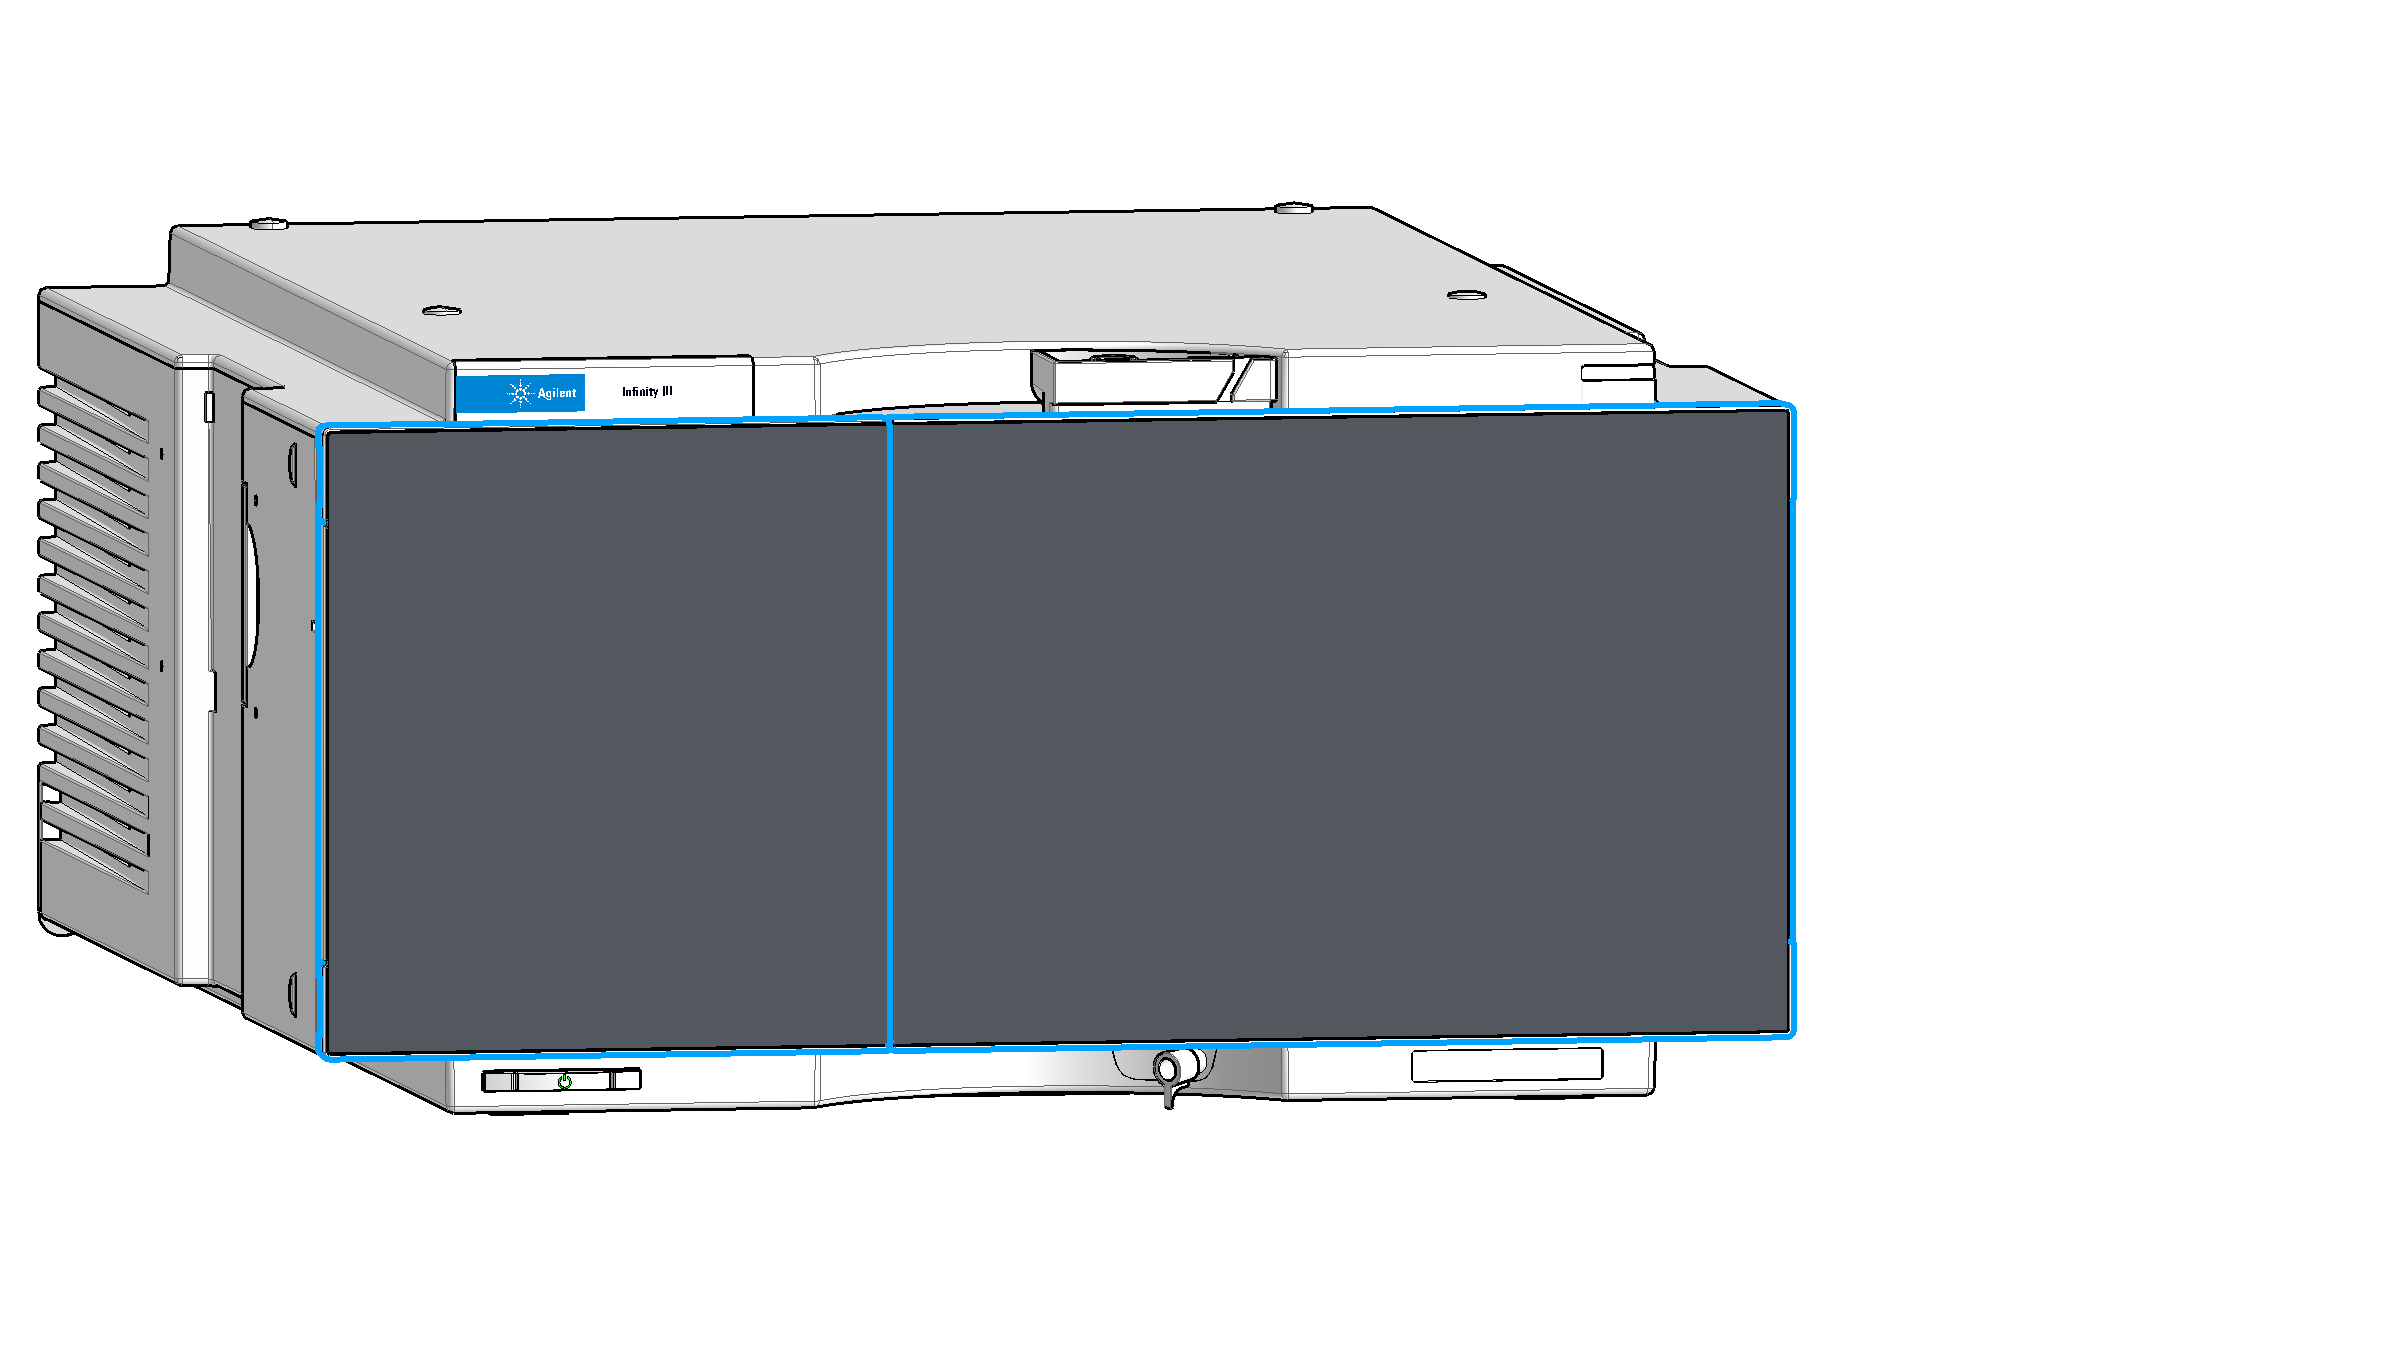
Open the doors.
Remove the transport protection foam.
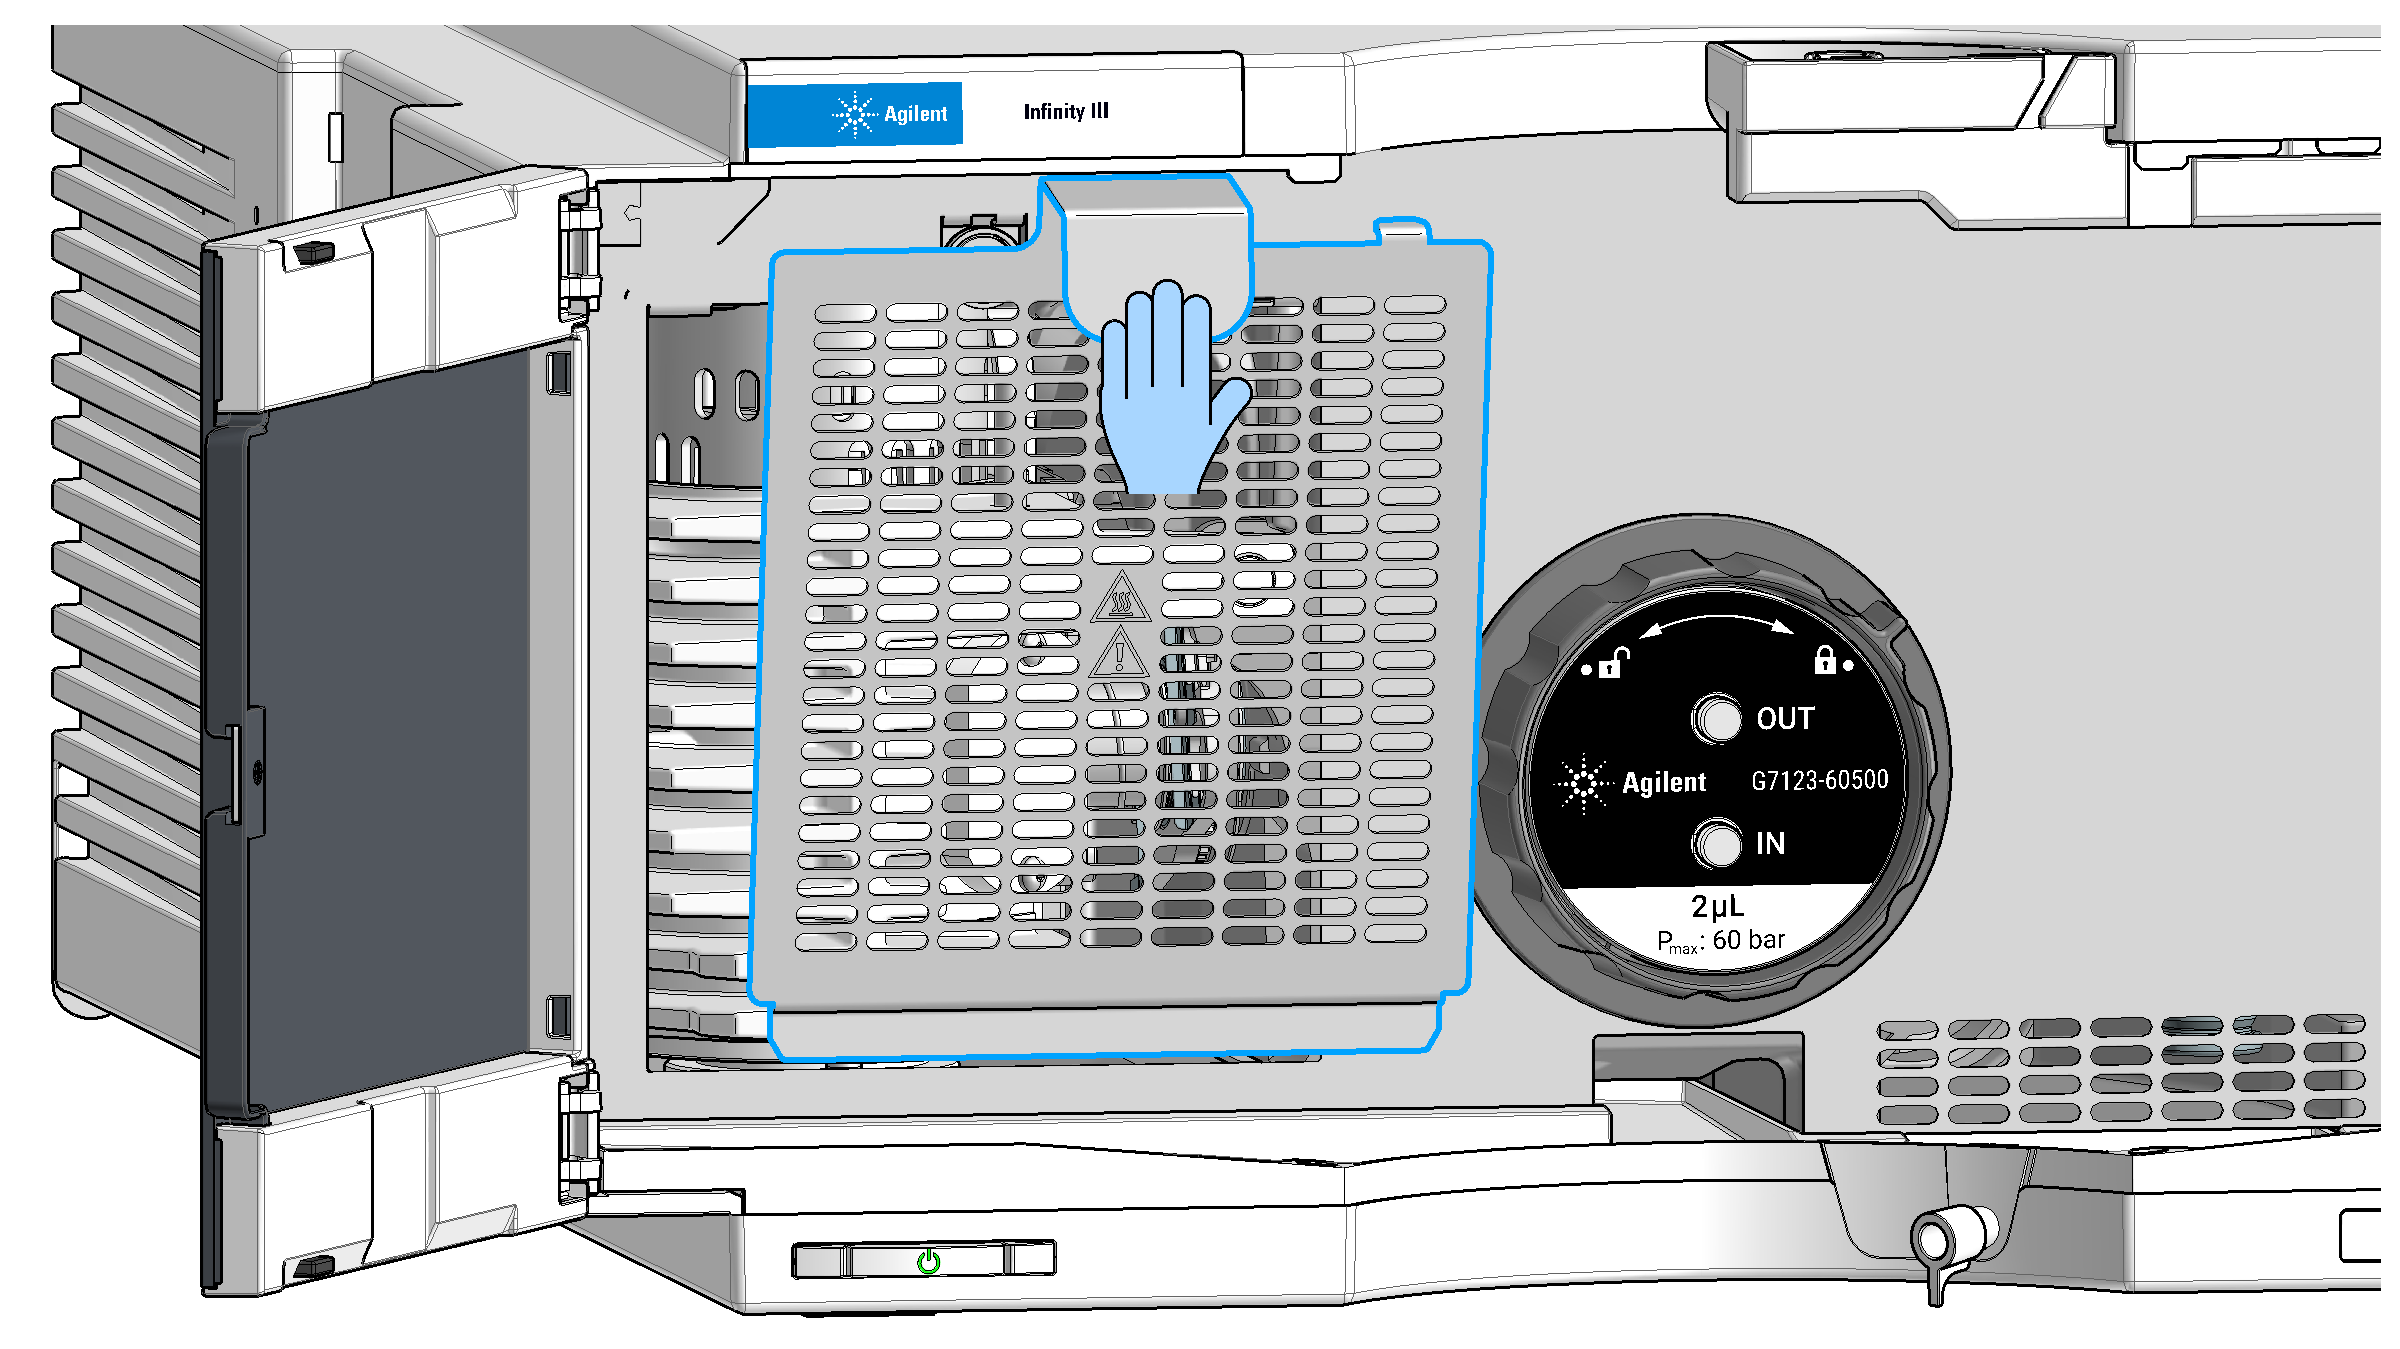
Remove the safety grid by pulling on the metal handle.
Remove the yellow transportation lock from the left side.
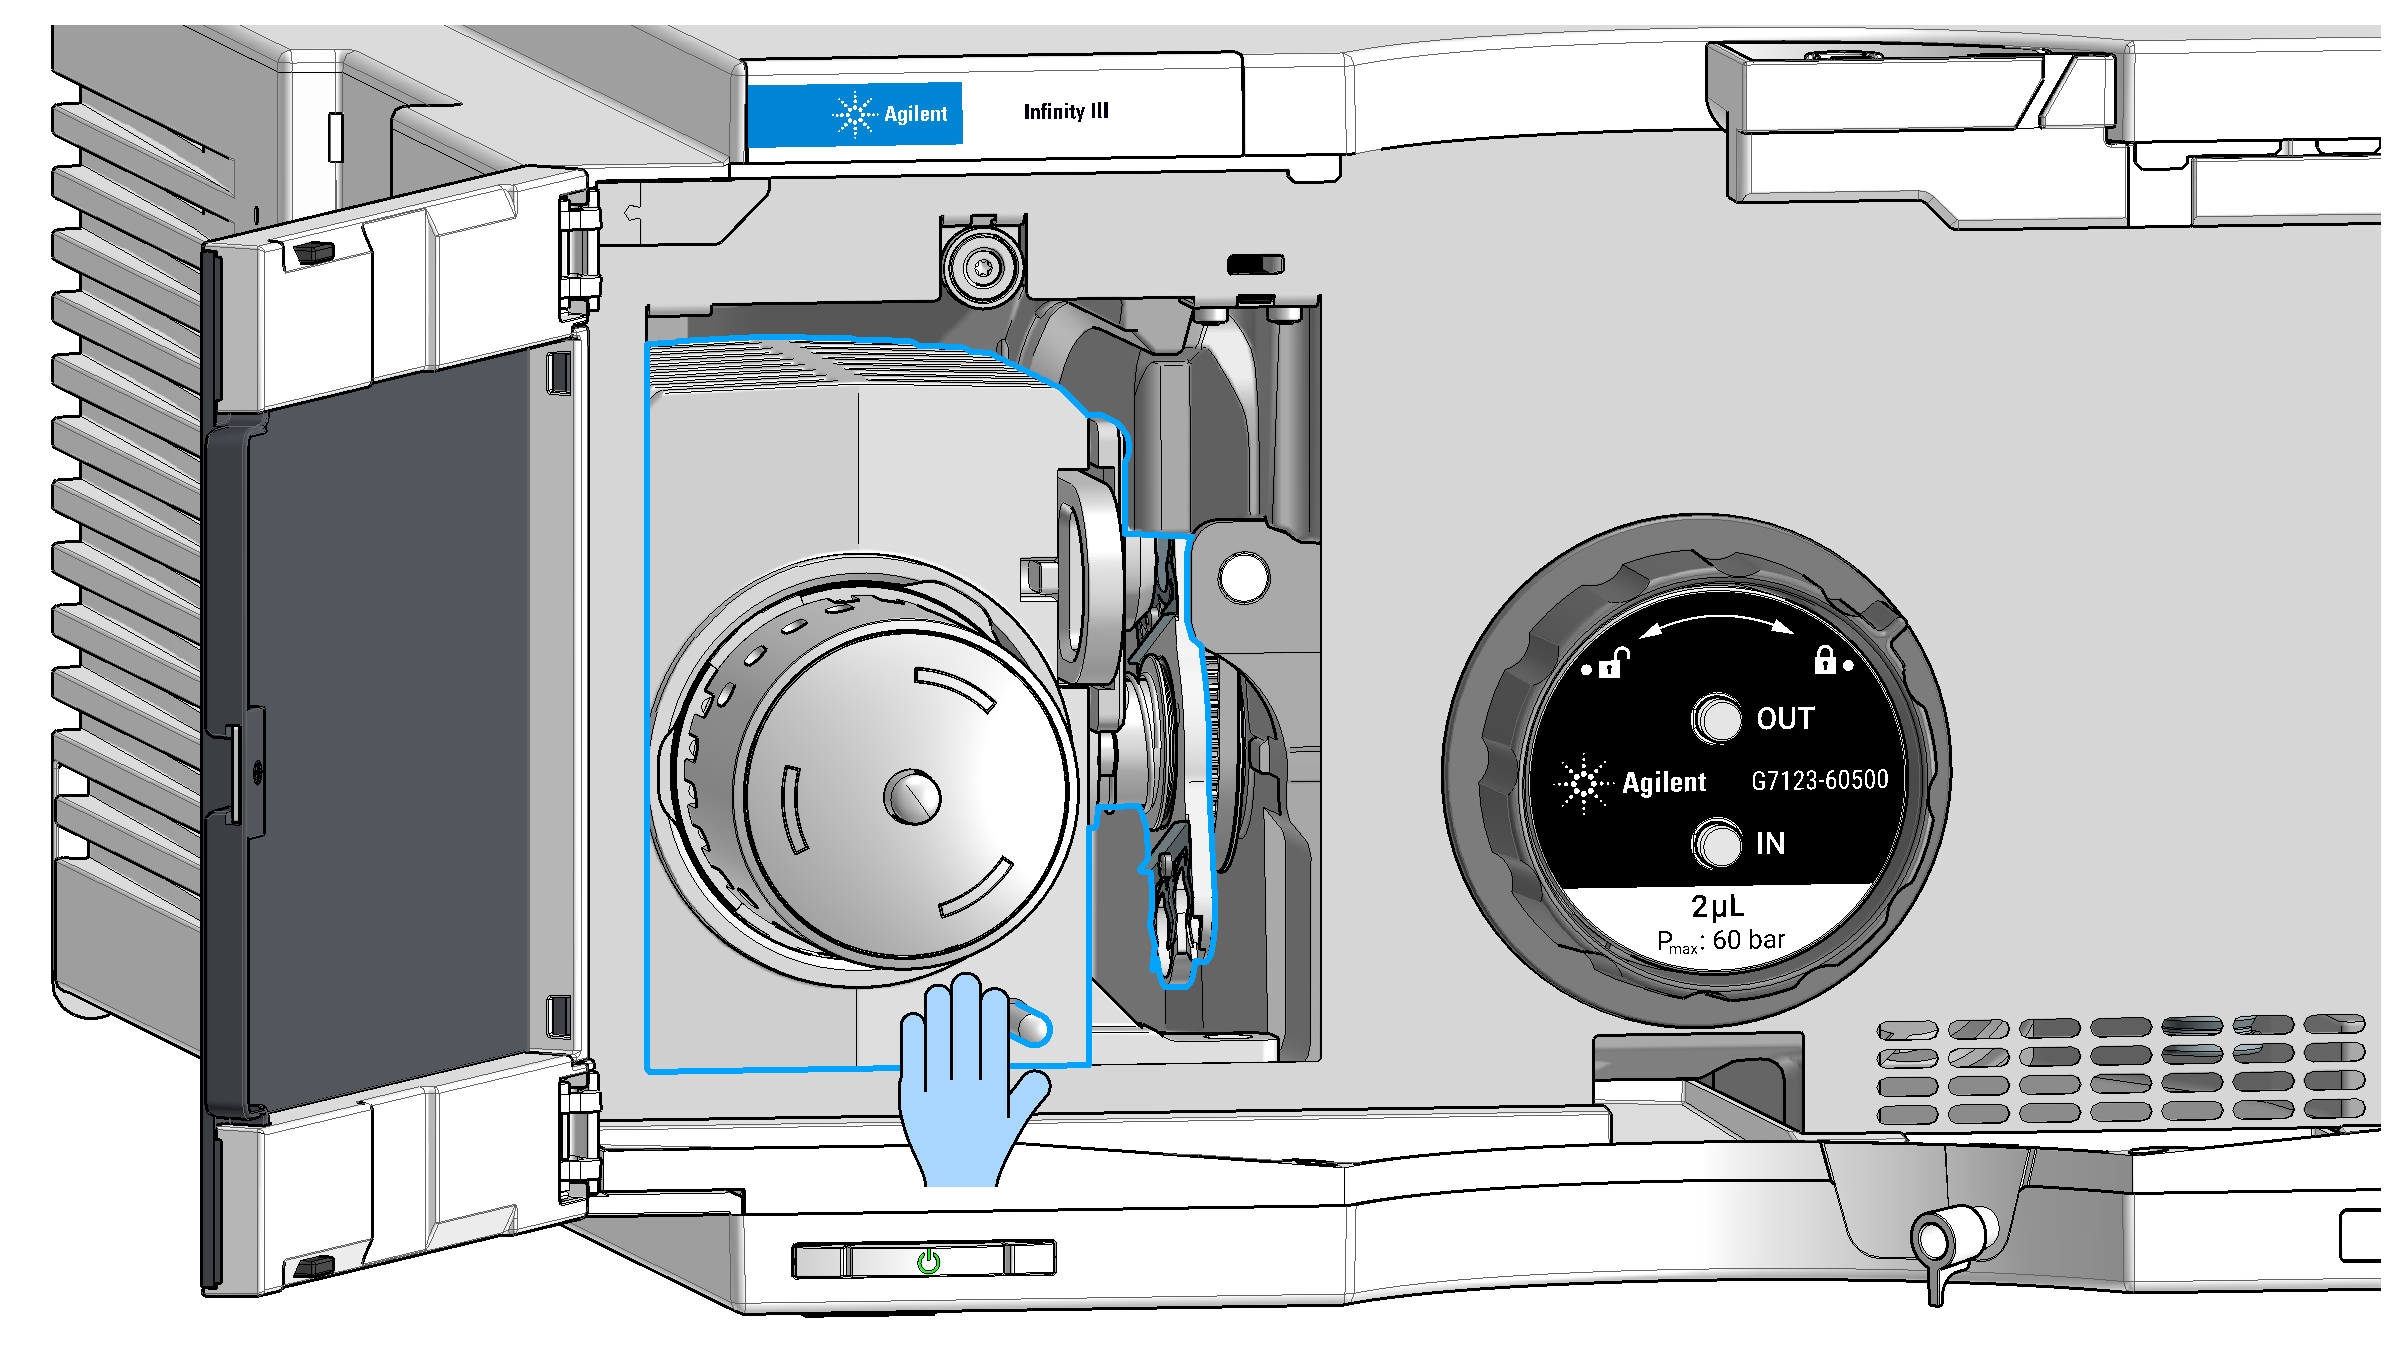
Pull the metal rod towards the front, so the lamp housing gets turned by 90 degrees.
Remove the yellow transportation cap from the lamp.
Push the metal rod on the lamp housing up-/backwards, so the lamp housing turns by 90 degrees until it comes to a stop and gets held in place by a magnet.
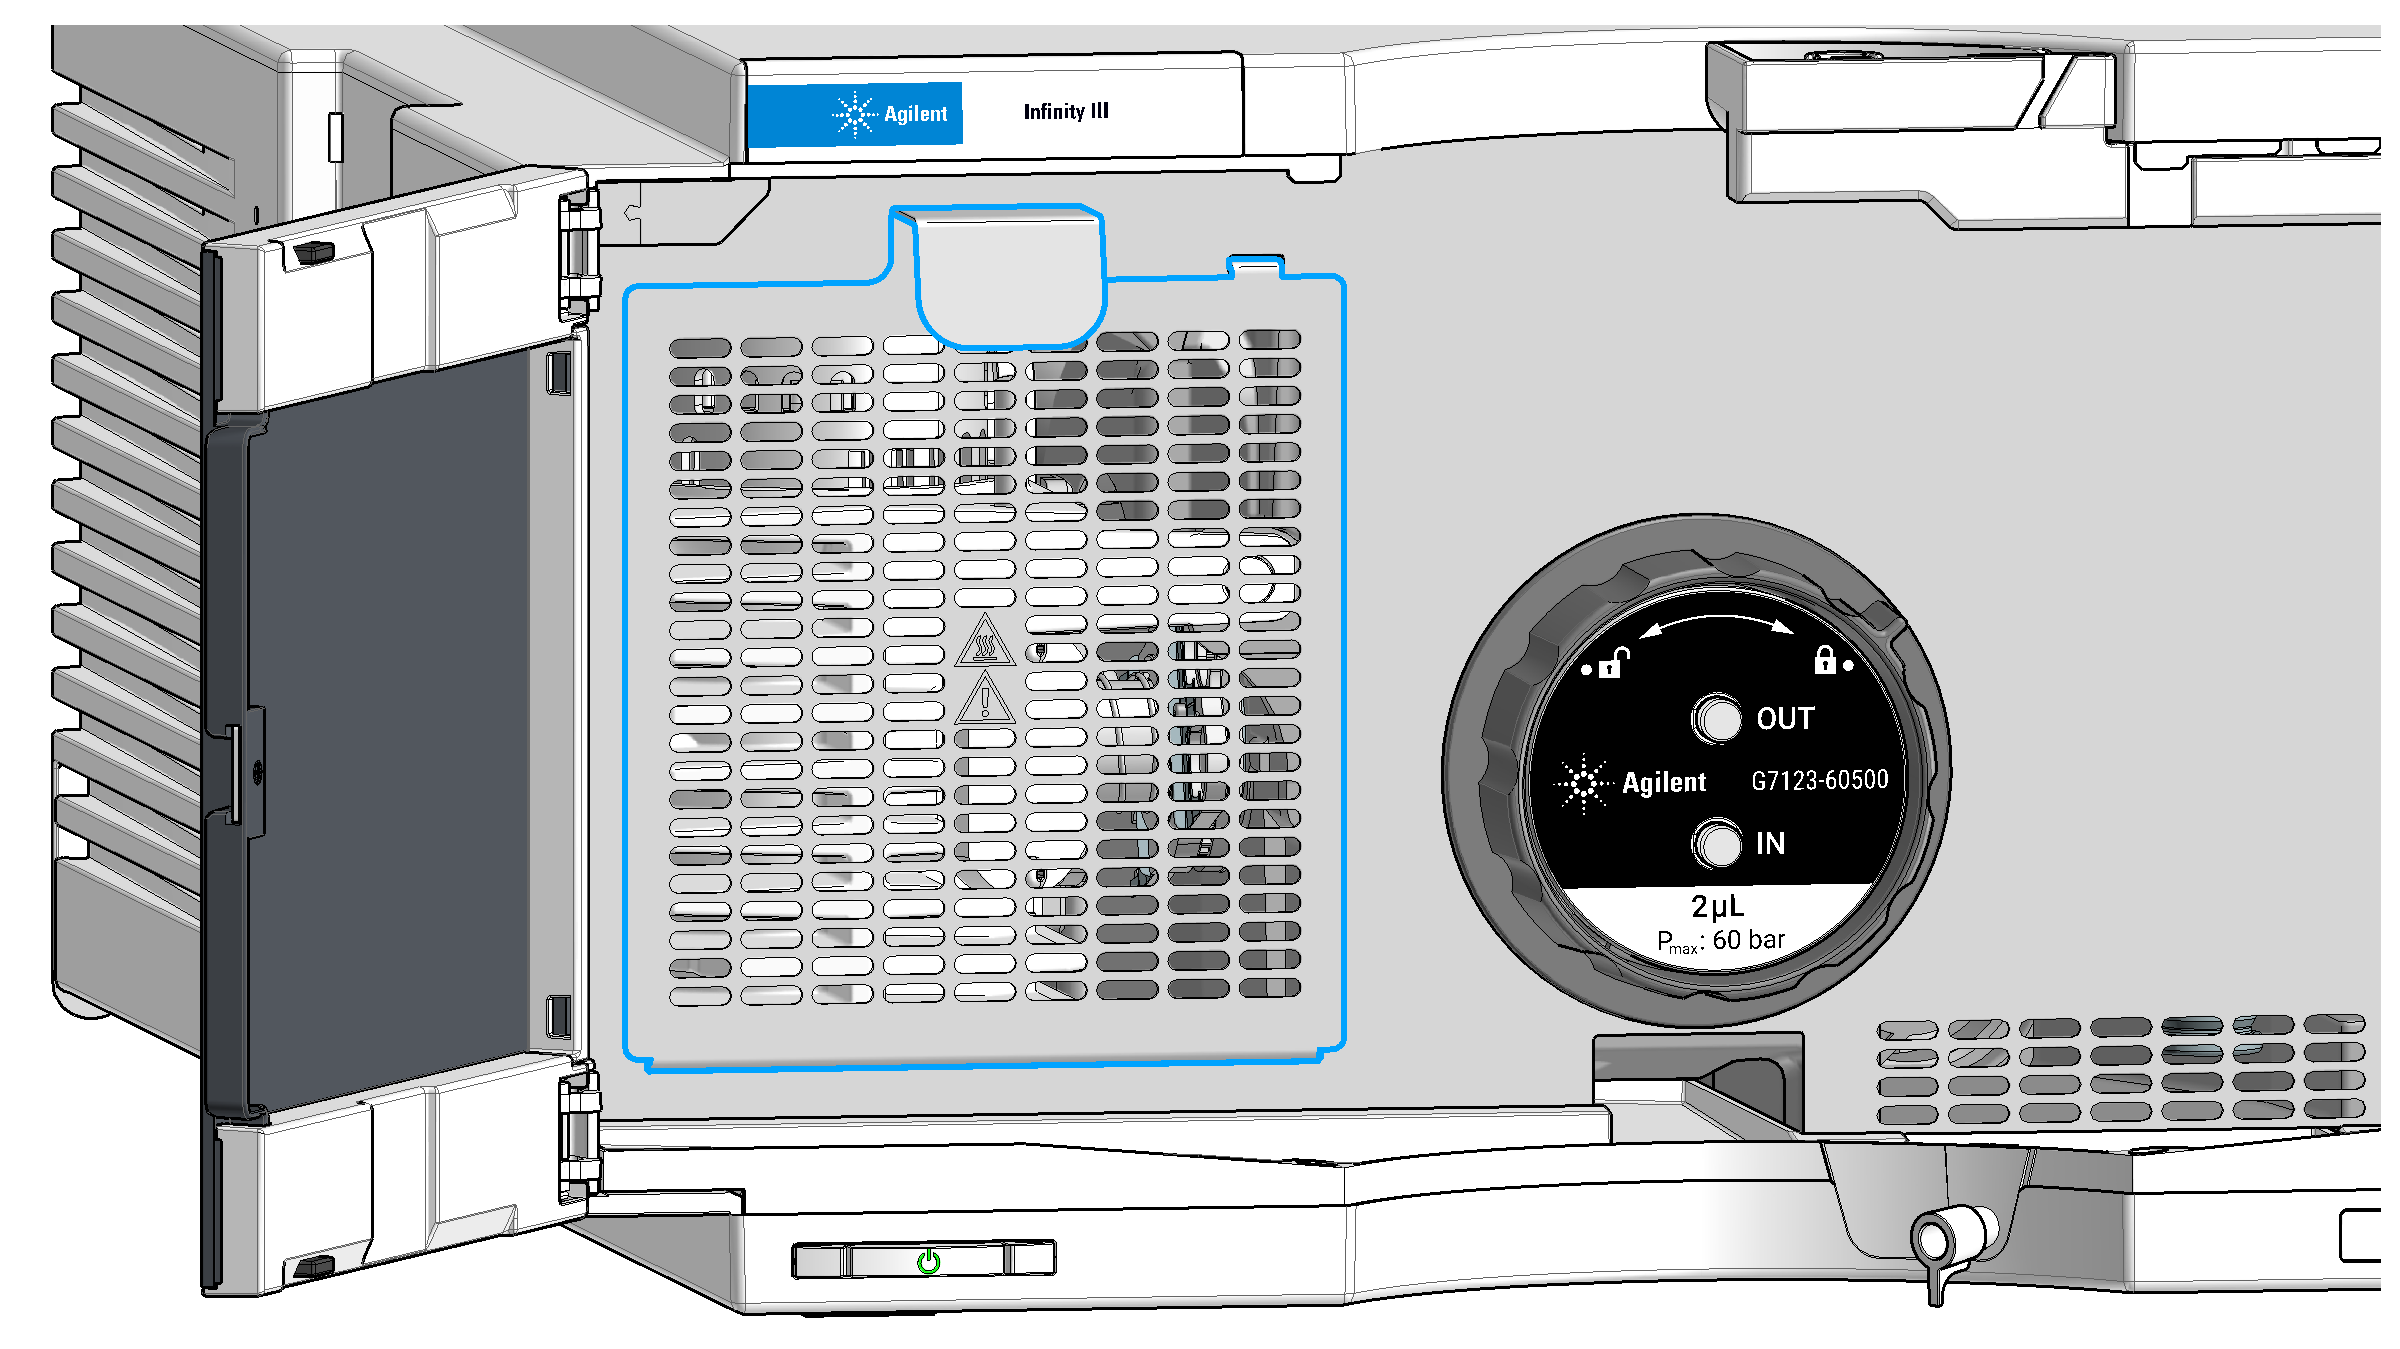
Re-install the safety grid. Insert at the bottom, then the top gets held in place by a magnet.
Remove the black protection cover from the cell opening.
Turn the black collar of the flow cell to be installed to the unlock position, as indicated on the cell label. Then insert the flow cell into the detector until it stops. The flow cell is keyed, so it cannot be installed in a wrong way. To lock the cell, turn the black collar clockwise until stop position, also indicated by an acoustic click.
Remove the flow cell plugs.
Install the capillaries.
Close the doors.
base-id: 13863234699
id: 9007213117975691